All you need to know about explainer video storyboards.
Planning an explainer video doesn’t come second nature to a lot of video creators. Serious prep is often required. And explainer videos are in my opinion one of the most complex corporate videos to create: you have between 30-140 seconds to communicate the message and engage with a viewer.
Such explainer videos can:
- Sell a product or service.
- Promote a brand.
Laying out your vision in a storyboard is one way to achieve desired goals. And you may ask: what is a storyboard, actually? Shortly, it is a roadmap that guides the journey from a storyboard to an actual video.
But first, what is a storyboard?
A storyboard is a simplified visual representation of how the video will unfold. It helps me and my client to see how the explainer video will look visually before it is animated. And usually, the storyboard looks like a sequence of images with notes, script, and directions.
Already looks complicated… So why make a storyboard?
Creating a storyboard might sound like another additional step in the process of making an explainer video, but believe me – it’s a step I don’t want to ignore.
Here are a few reasons why:
- A good storyboard improves communication between me and the client.
- It uniforms the creative visions in my creative team. Yes, I don’t necessarily do all the video production work myself! I have a team of creators with specific sets of skills: illustrators, voice-over artists, motion designers, etc.
- A storyboard helps me keep my work organized.
- It helps me choose the style of the video.
- I know what is needed and can prepare all necessary assets: illustrations, music, audio effects.
- Storyboard links scenes and voice-over.
It saves time! While it may take a little while to put the storyboard together, in a long run it will save me time in revisions later.
So how do I create killer storyboards for the explainer videos?
There is no one-size-fits-all way of creating an exceptional storyboard for explainer videos. But I can share some essential steps you should follow to make sure that the final result leaves you and your client satisfied.
Step 1: Choose your method.
There are several ways to create a storyboard:
- Draw scenes on paper by hand.
- Create them digitally with vector files.
- Use online tools, such as Canva.
I prefer making a digital storyboard with vector files. Though it might take more time at first, once the storyboard is completed I can export the vector images straight to the video editing software and start animating them.
Step 2: Prepare the template.
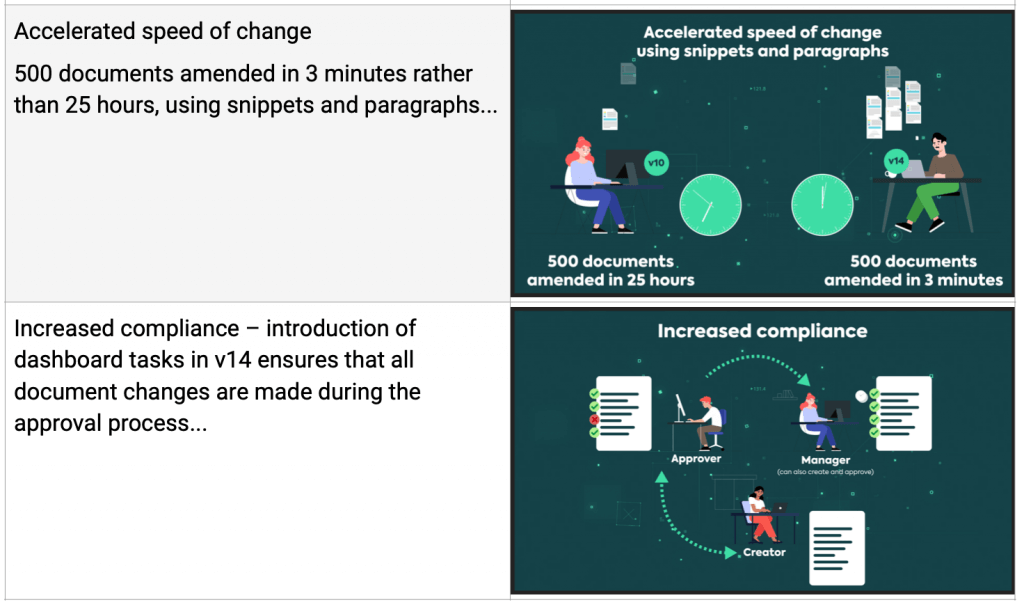
I usually use Google Docs to create the table for a storyboard. It is a very handy way to organize it and share it with the client.
Step 3: Add the script to a storyboard template.
On the left column of the storyboard table, I write down the script or the voice-over lines that will be spoken in the specific scene and jot down some notes about what is happening. The storyboard should read like a comic book, so clients can get a sense of exactly what will happen in the video.
Step 4: Sketch the scenes.
Next, in the right column of the storyboard, I sketch how each scene will look visually. Note that the storyboard doesn’t have to be incredibly detailed. I just provide enough visual details to give an impression of what is happening, which visual elements are in that scene, and what the general style will look like. Additional notes will help fill in the rest of the information.

Step 5: Edit and Finalize.
It’s true that the first draft will rarely be the last. So I prepare for a few revision rounds. And once the storyboard is completed and approved by the client – I am finally ready to enter the production phase with a solid visual plan!